
In Iterop Design, you can create services to connect your applications to your processes. You can then assign your services directly in the configuration of your processes.
Iterop allows you to connect your processes with other applications: database, CRM, messaging…
For each department, you can define several operations, specifying the operations you want to perform.
For example, you can create a service that will connect to your database, and define an operation that will retrieve the list of your customers. Another example would be to create a new customer at the same time as the ordering process is started.
Setting up a service
To configure a service, go to IteropDesign and select the “Services” tab in the left menu. This is where you will create your new services.

The different services available:
- REST
- SOAP
- SMTP
- IMAP
- Zapier
- SQL
Learn more about the list of available connectors.
Create a service
- To create a new service, click on the “Create New Service” button in the top right corner.
- Choose a service from the available services.
- Name your new service and start configuring the different operations.
Setting up an operation
Director’s side
When you define an operation, you can decide for each necessary argument whether you want to set it or leave it as a service input variable.
Here we will set up a Mail service:
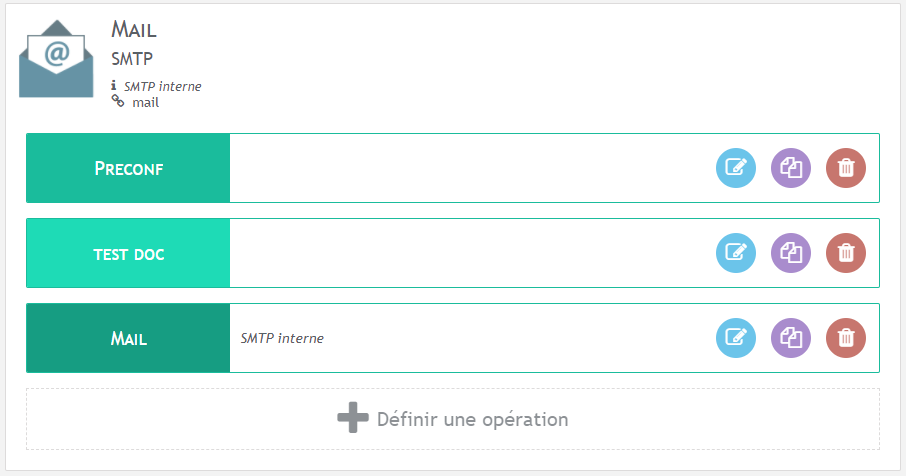
- Click on the + to create a new operation
- The following window opens:
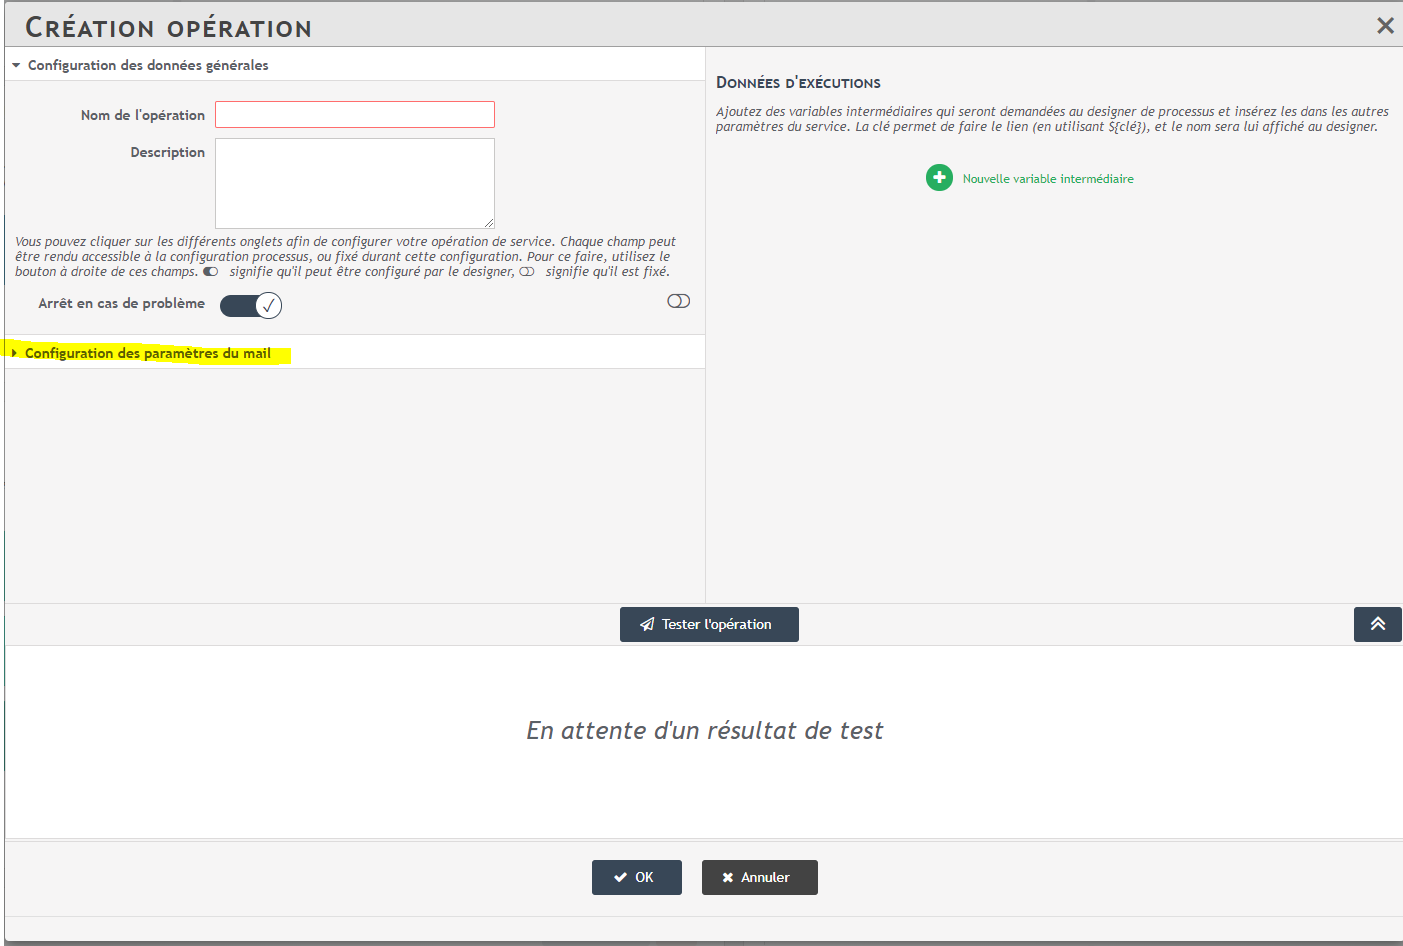
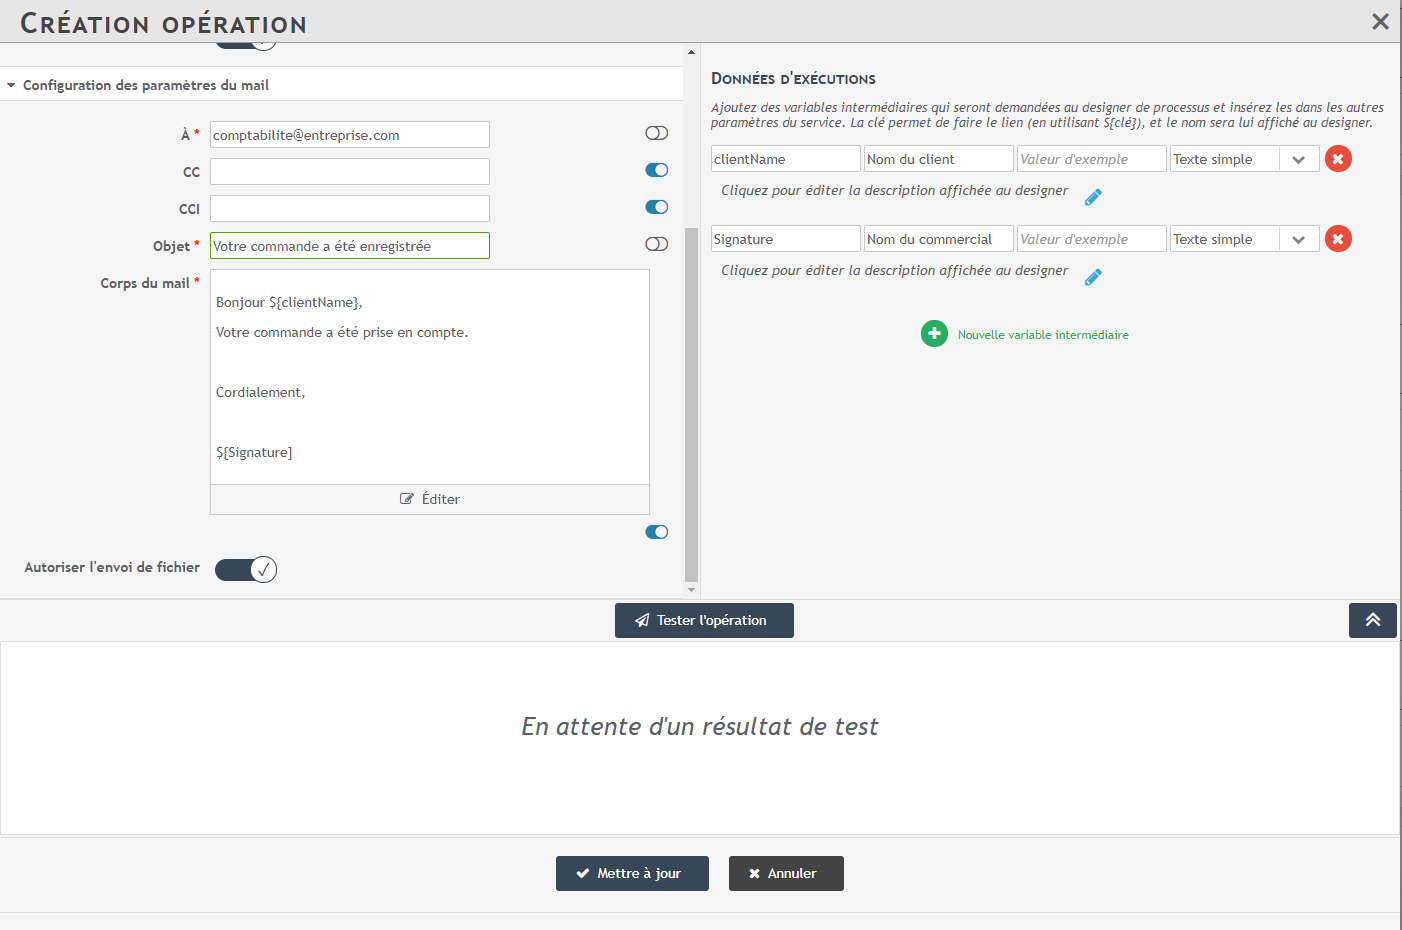
- Select “Configure email settings” and start setting up your email.
For example, for an email service, you might want to leave the address recipient field in dynamic mode, but set the CCI field to be a copy of all emails.
This choice is made using the button located to the right of the various operation configuration fields.
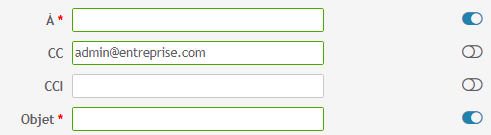
If the button is on “ON”: blue, the field will be available when configuring your process and the designer will be able to define it or link it with another process variable.
If the button is on “OFF”: grey, this field will be invisible for the designer and it is up to you to indicate the value set when calling the operation.
Designer side
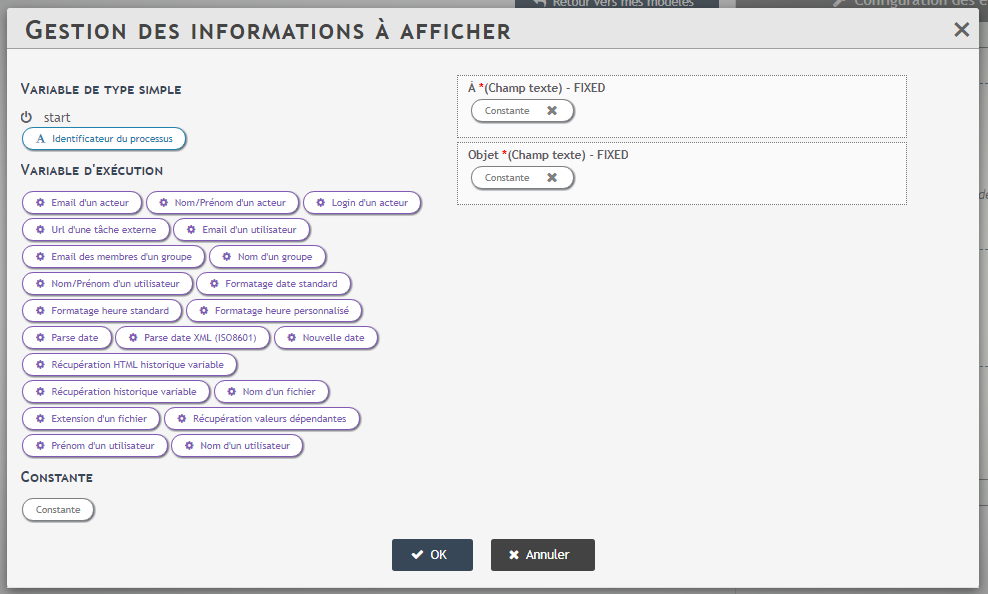
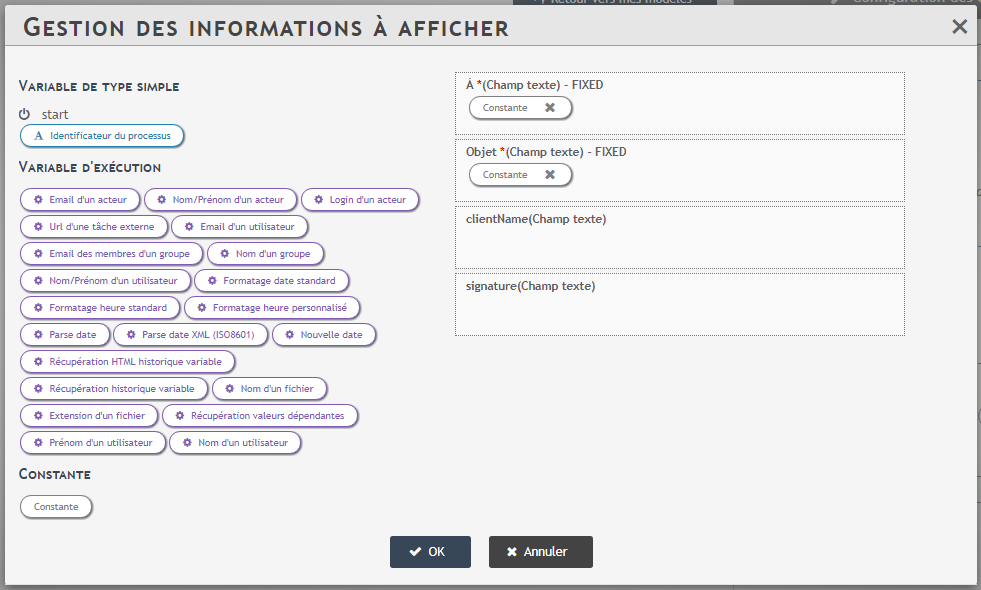
In this example, the fields “A” and “Object” will be accessible to the designer, while the fields “CC” and “CCI” will be fixed and will not be visible to the designer. When configuring his process using this service, he will see the following window:
Configuring service variables
Director’s side
After setting up the general data and the email, you will be able to define the input data accessible to your designers.
To the right of the general configuration, you can decide to define “service variables”. These variables will then be considered as input variables available in the departments assigned to your processes.
In the configuration of your operation, you can then refer to these variables as if they were defined at the execution of your process.
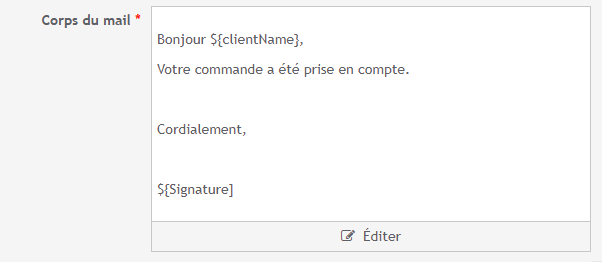
For example, you could define a sample mail and prepopulate the body of that mail by referring to the service variables you defined on the right.
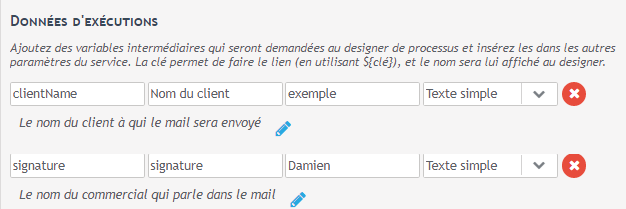
Upstream, on the right, we have definedclientName and signature, two variables that we can use in the body of the mail in order to pre-fill it.
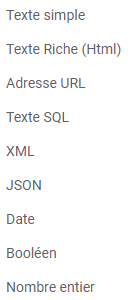
The different types of data are :
Test the operation
If you would like to have a final preview of your operation, you can click on “Test operation” at the bottom of the window. Here is the preview generated with the example above:
Designer side
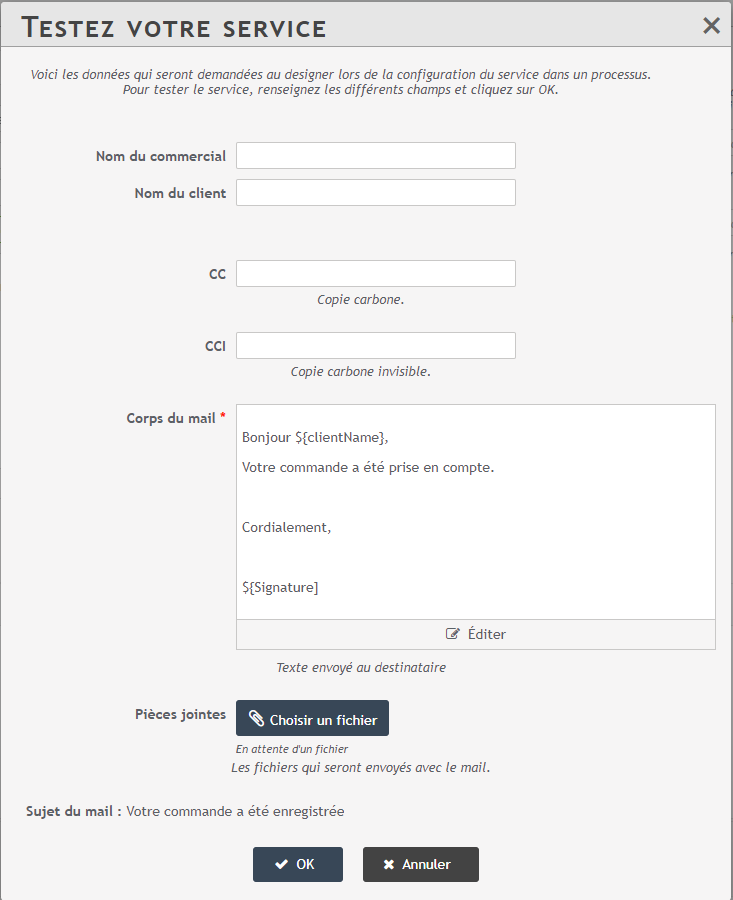
On your Designer’s side, when he assigns his service “send standard mail to client” within his process, he will not have access to the editing part of the mail body. But he will be able to fill in the two following fields: “customer name” and “signature”.
Here are the data that the designer will see in the service configuration:
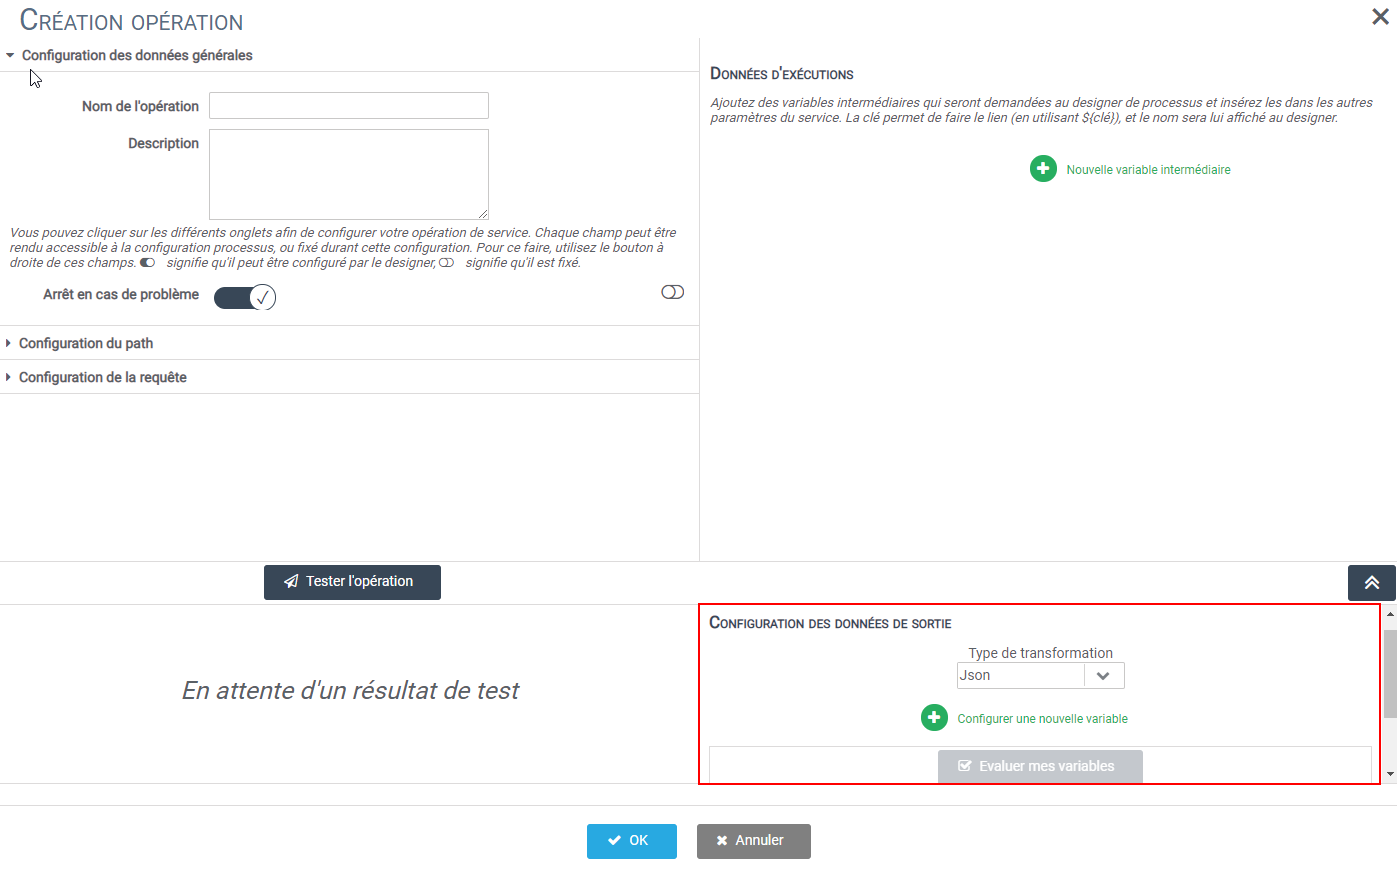
Configuring output variables
When defining an operation, you can define the output variables for the operation. For a service such as mail or Zapier, no output is possible. For REST, SOAP, or database services, you can define the variables you want to extract for further processing.
To do so, we suggest you use the following languages:
- When your answer is a json(REST and database) the language jsonPath,
- When your answer is in xml (REST and SOAP) the language Xpath.
How to configure the output variables :
- Choose the desired language.
- Click on the green (+) to add a variable.
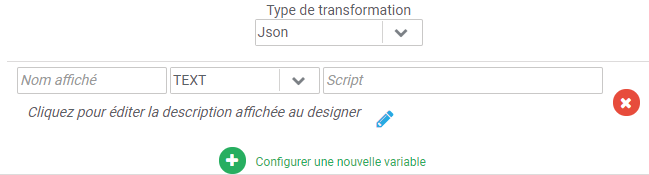
Choose the name of the variable, its type and its script.
The different types are:
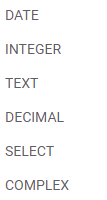
To retrieve a data and be able to reuse it through a variable, it is necessary to fill, in the right insert, the code JSONPATH to reach it :

A process that will use this service will provide the variable Host thus generated. In this example, it will be set to “httpbin.org”.
- When you choose the type of your output variables :
- The type COMPLEX refers to a raw json or xml format.
- The type value list will automatically create a valid string to be used as a value list in Iterop
- When you test your operation, you can click on the button “Evaluate my variables” once your test is done, to check the validity of your selectors. In the configuration of a process, these variables can be used like the variables defined in a human task.
For a file output, you also need to define a variable and declare the type as a file.
Use cases
Input variables
Use in POST.
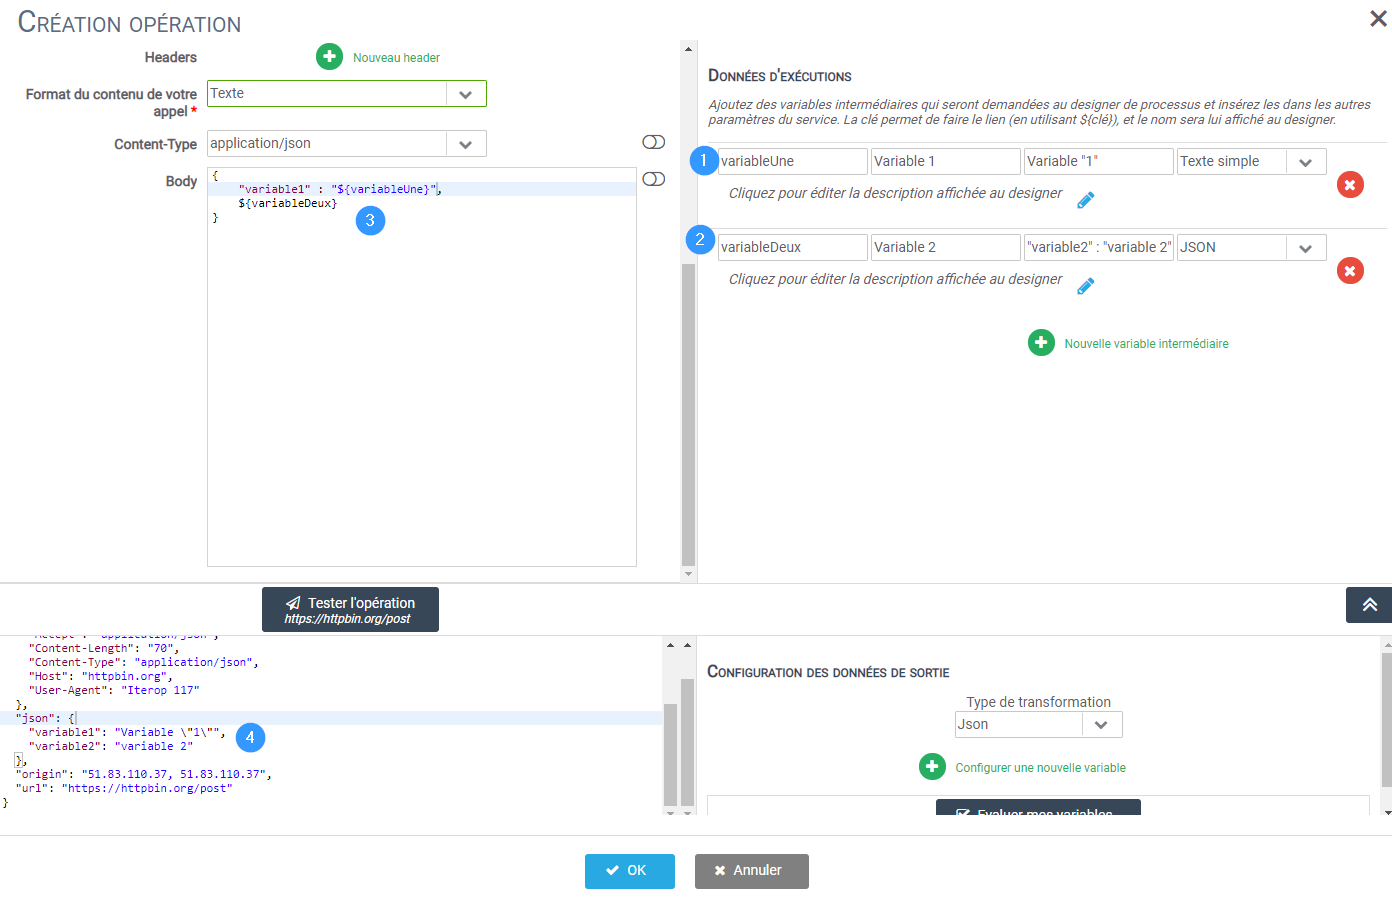
1️⃣ A variable of type Simple Text (which will be escaped, such as “ for the JSON to remain valid)
2️⃣ A variable of type JSON
3️⃣ The body of the query which integrates the variables filled in 1️⃣
4️⃣ The answer. We notice that the “ of the Simple Text are well escaped.
Output variable
Use in GET
Type of transformation: JSON

1️⃣ The name of the variable.
2️⃣ Her type.
3️⃣ The script that will be used to retrieve the data and give it a value.
4️⃣ The button that allows you to preview the value of the variable.
Result:


