Exporting a service

- To do so, click on the “Export” button in the top right corner of your services configuration page. A window opens allowing you to choose the operations you wish to export.
- You can choose to export all the operations of a service by clicking on the checkbox next to the name of your service, or only some operations by selecting them one by one.
- Once you have made your selection, download the corresponding configuration file by clicking on “Export selected operations“.

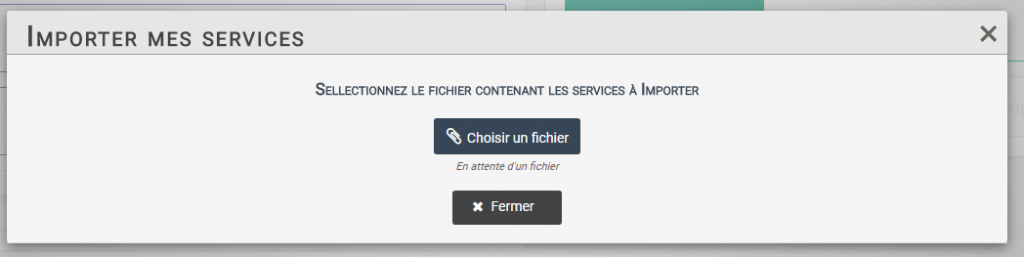
Importing services
- To import services, click on the “Import” button in the top right corner of your services configuration page.
- A window opens and asks you to choose the file to import.
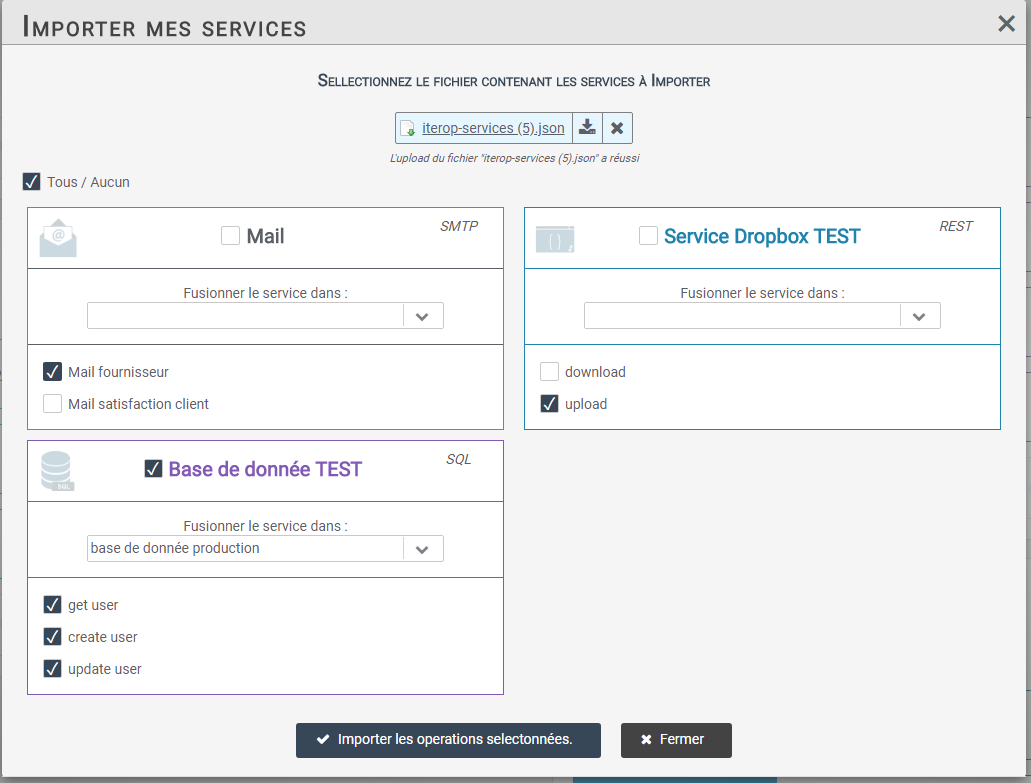
- Select the file in .json format, Iterop then offers you to choose the operations you want to import among those present in the file.
In the same way as for export, you can choose to export an entire service or only a part of it.
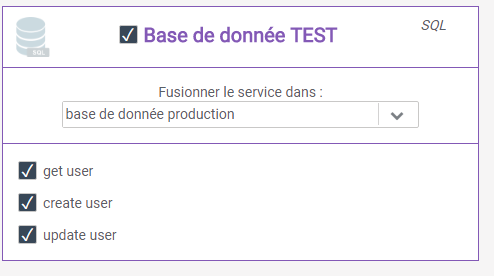
Here you can see that for each service not all operations are selected.
Example
In the service “TEST database“, tests were performed on a test database and in parallel, a service named “production database” connecting to the real database was created.
By merging the operations of the test database directly on the service connecting to the production database, you will then have the same operations as during your tests.