
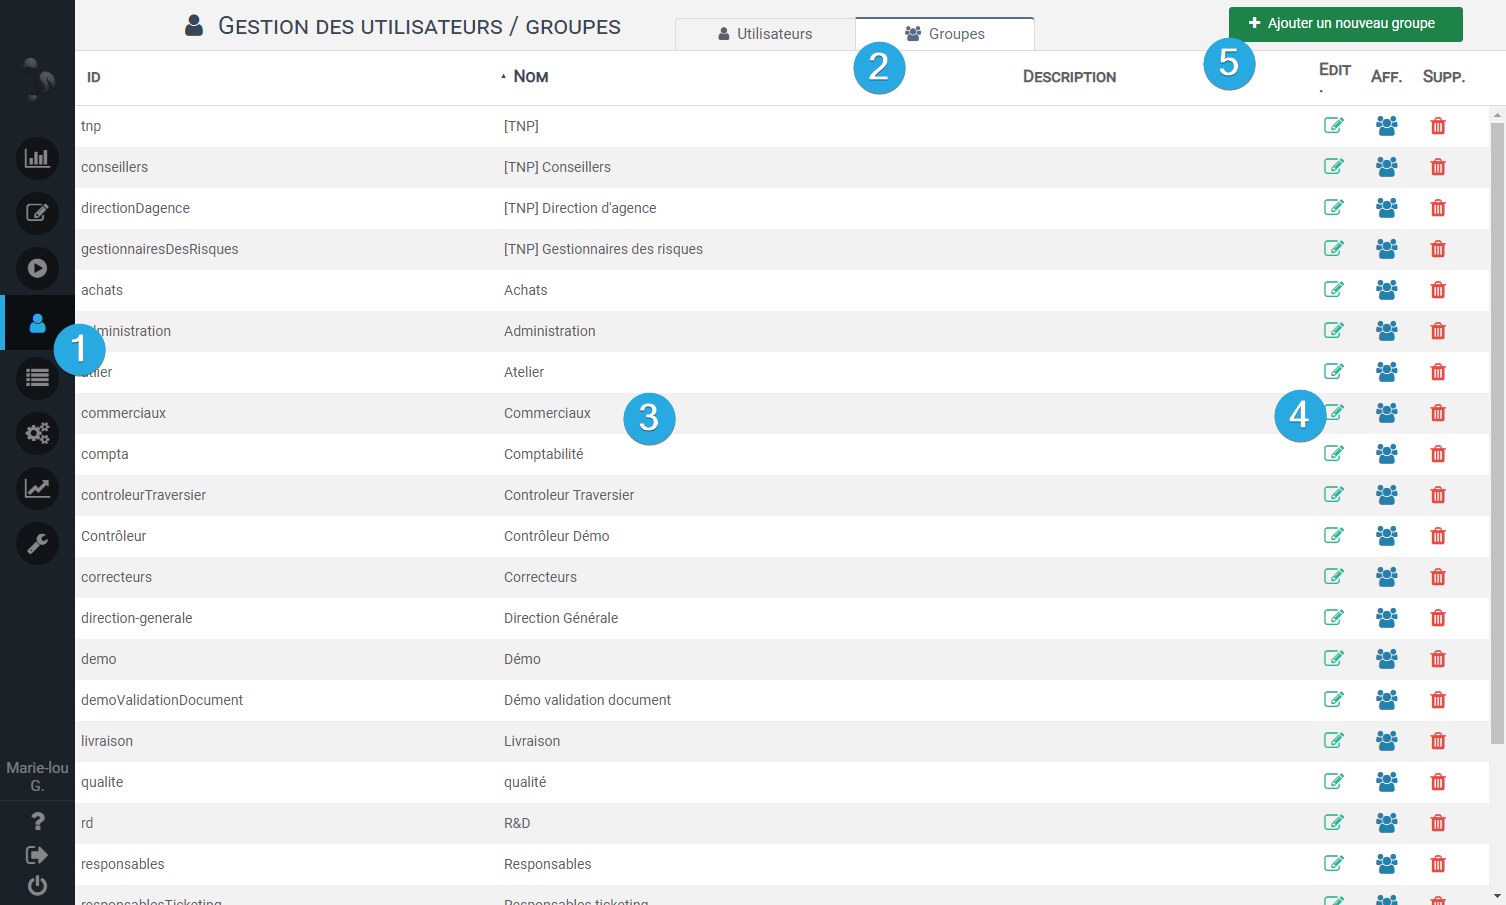
Consult current groups
- Click on the tab “Users” in the left menu 1️⃣
- Select the Groups tab 2️⃣
- In the table, you see all the groups that are active in the application
- The general information of the groups is in the table 3️⃣ and the possible actions (Edit, Delete, Assign) are on the right of the table 4️⃣
Create a new group
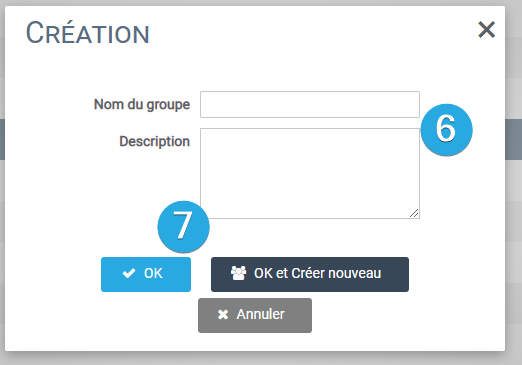
- Click on “Add a new group” 5️⃣
- A new window opens
- Fill in the name of the group and an optional description 6️⃣
- Click on OK to validate or on Ok and Create new to restart the group creation window 7️⃣
The group thus created will be present in the table (3️⃣).
You can delete it by pressing the trash button or edit it by clicking the pen button.
Assigning Users to a Group
To add users to your group from the Groups tab :
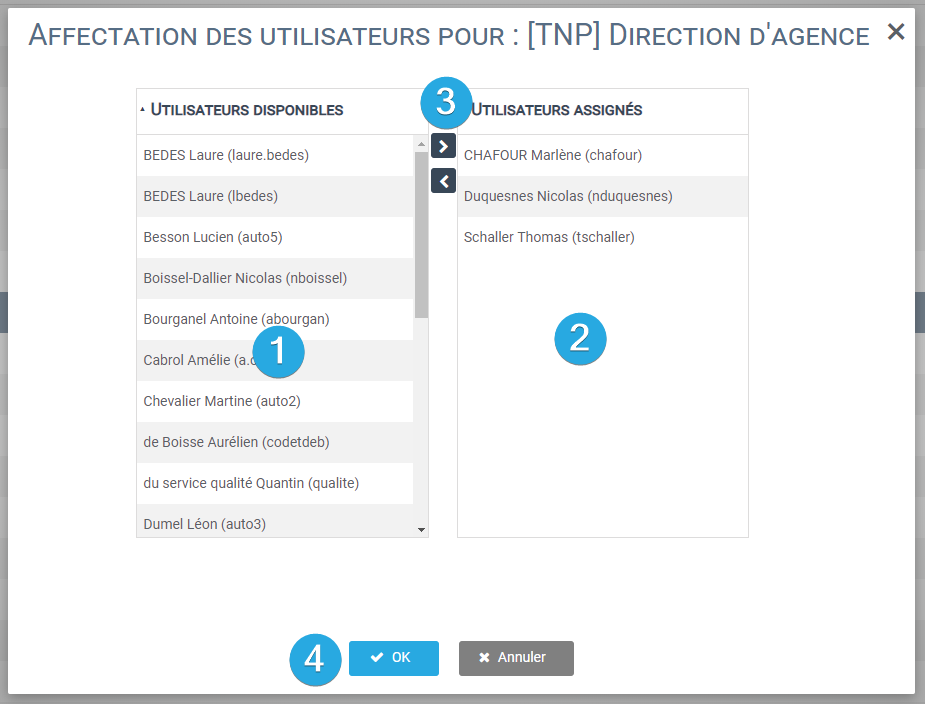
- Click on the assignment button in the action buttons 4️⃣ in the main window.
- An assignment window opens
- The users in the left column 1️⃣ are those you can assign in the group.
- Drag and drop these users to the right column 2️⃣ to add them to the list of affected users.
- You can also select users and press the arrow 3️⃣ to add it to the list of affected users.
- Validate by clicking on OK 4️⃣
Assigning Groups to a User
In the previous chapter, you could change the assignment of a group by adding users. You can also assign a user to more than one group.
- From the tab “User”, choose the user you wish to assign to one or more groups.
- Click on the assignment button in the action buttons 4️⃣ in the main window.
- A window opens. The operation is the same as in the previous chapter but instead of the available and assigned users, the available groups are shown in the left column, and the groups to which the user belongs in the right column.
- Drag and drop groups in the different columns to assign or remove the user from the selected group(s).

