While a process is running, you can check and change the process flow at any time. For example, you can modify a data that has been incorrectly entered, anticipate the triggering of a timer, change the assignment of a task to another user, etc.
All these actions are available from the Tracking tab of the menu and then by clicking on a row in the table to Track the steps of a specific process.
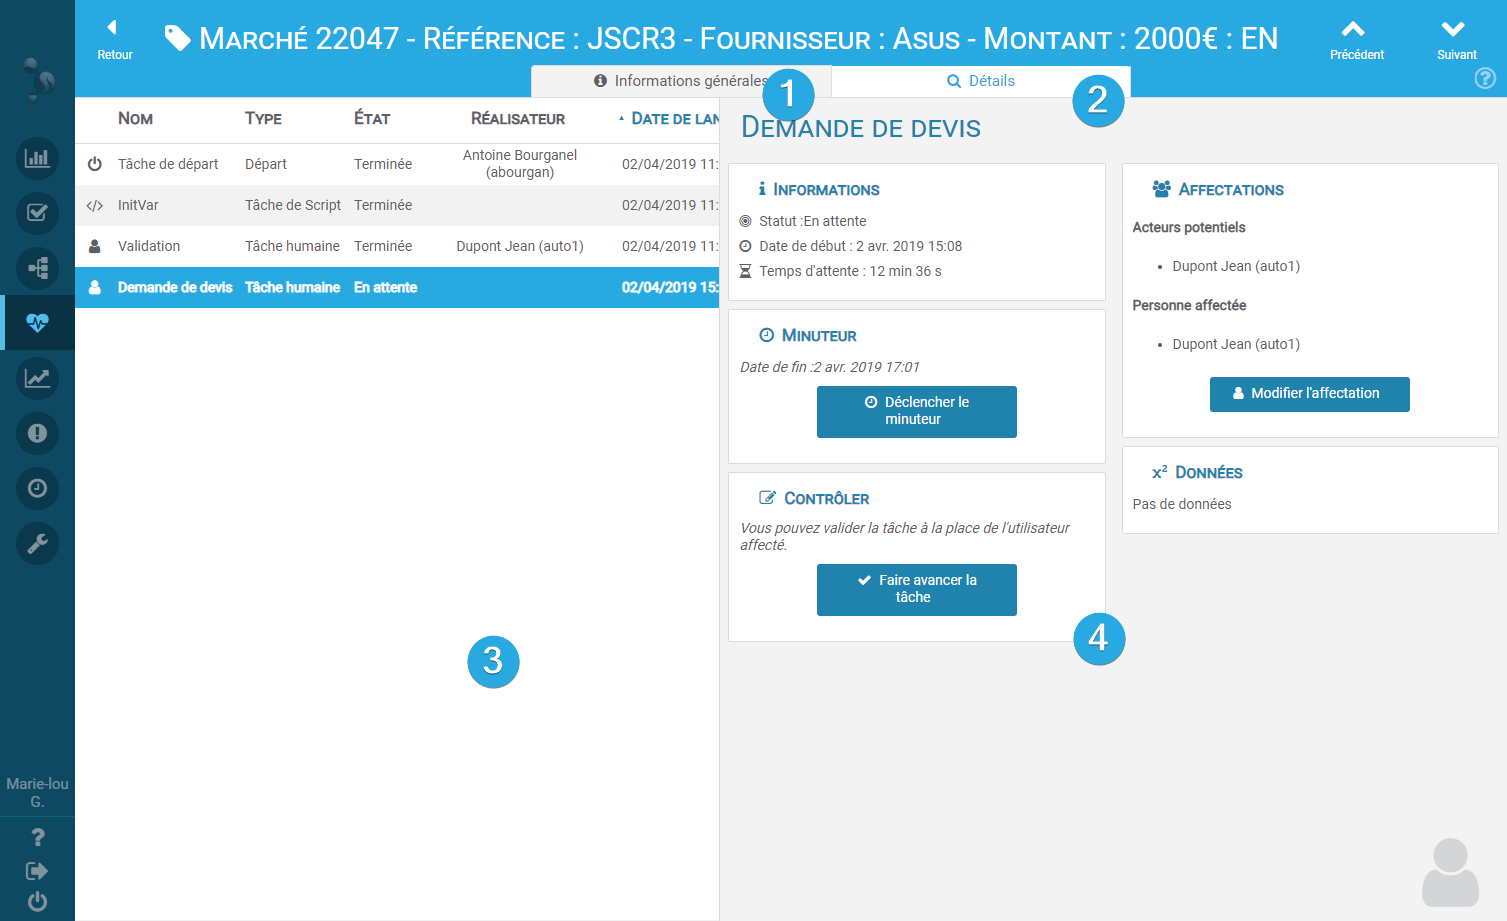
Overview of the monitoring interface
General information tab

1️⃣ The Follow-up tab of the menu
2️⃣ The state of the process: at what stage is the current activity?
3️⃣ The details tab allows you to view the data task by task, to assign the task to another user or to advance a task manually.
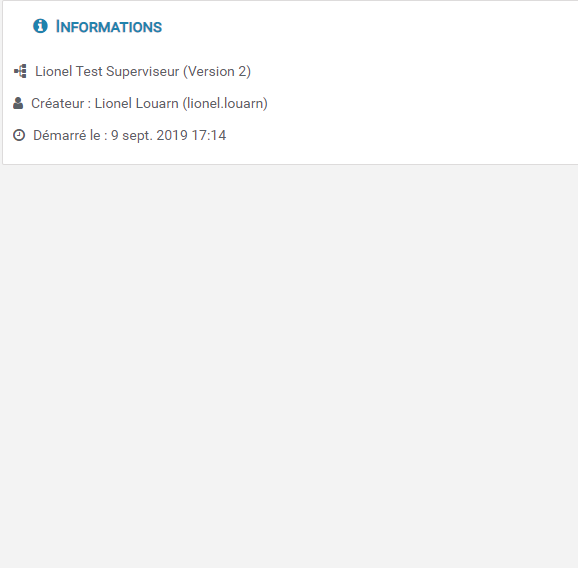
4️⃣ Generic process information with the process stop button at the bottom right.
5️⃣ The data associated with the process with the possible
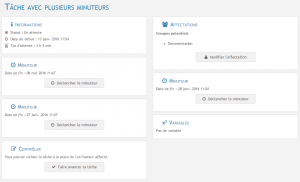
Activity details tab
1️⃣ Back to the General Information tab
2️⃣ The details tab allows you to view the data task by task, assign the task to another user, or advance a task manually.
3️⃣ History of tasks performed
4️⃣ At any time and depending on the situation, advance a task in the place of the affected user.
Différence entre superviseur et superviseur limité
In Iterop, there are two different statuses that allow to access the monitoring and thus to have access to the information and the progress of the process instances: Supervisor and Supervisor limited.
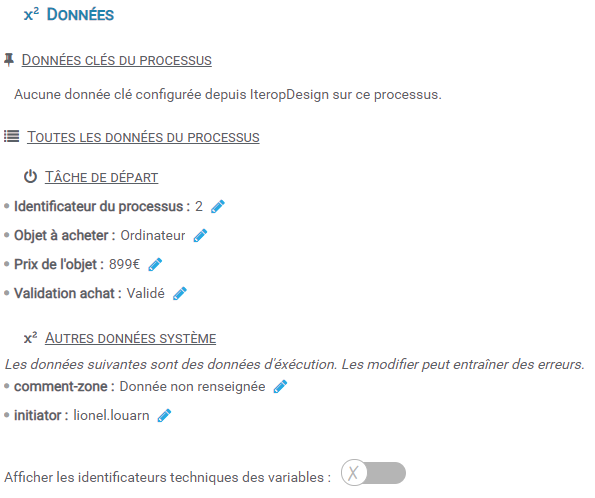
A supervisor will have access to process information, including all variables and their values.
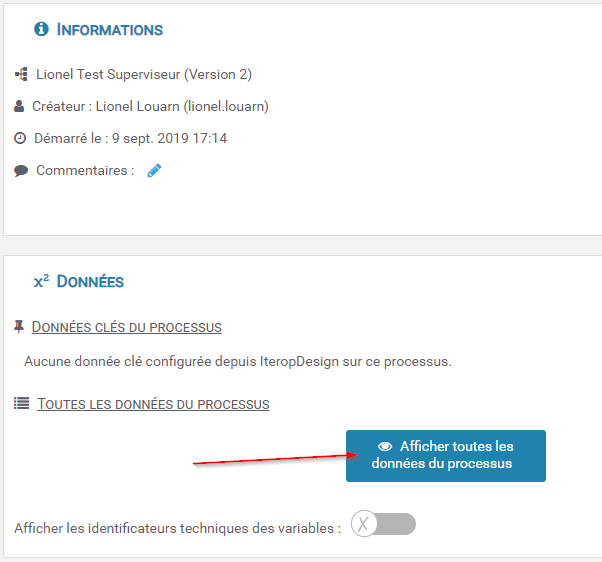
This gives access to the following information:
While a limited supervisor will not have access to the “Data” insert:
Special Cases
It is possible to combine two statuses. A basic status, and a dynamic one (which you will have given through a scripting task during a process instance).
Example: If you are “Controller” by default but dynamically, on some instances, you have been given a “Limited Supervisor” role.
You will then have access to all information, except for the process instances where your status is also “Supervisor Limited”.
Stopping a process
It is possible to stop a process (and all its running tasks)before it ends naturally. Once stopped, it will be indicated as interrupted or terminated. and can then be accessed from the appropriate interface.
To stop a process manually, you need :
- Click on the line of the process to be stopped in the
id=”gid_0″>Follow-up - Click on the tab General information .
- In the “Information” frame, click on “Stop Process“.
The following window appears:
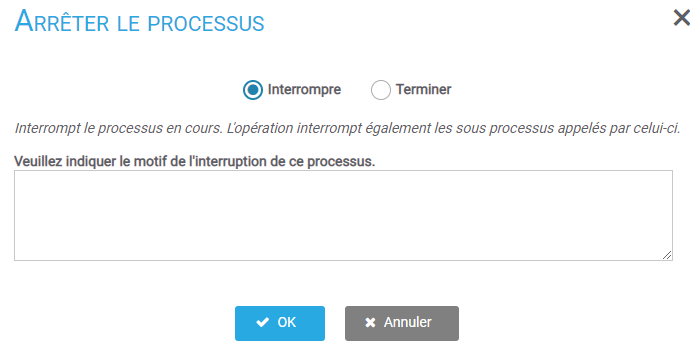
Two options: Terminate and Terminate.
Interrupt
Choose this option if you want to cancel the rest of the process.
The reason for the interruption is requested in order to be able to indicate in the interface the cause of the interruption.
Example: In an order management process, a customer calls to cancel his order. To avoid continuing the process and starting production that would be useless, the controller can stop the order processing by indicating the reason for the interruption: “Order cancelled by customer”.
Finish
Choose this option when you want to termine a process completed “in reality” but not in Iterop.
For the sake of flexibility, you can declare a process as completed when it is not in the eyes of Iterop.
The process will then be considered as another process that has taken place normally.
Example : the last step of a process is the creation of a summary file of the orders placed during the day. This is then sent by email to a manager except that, for practical reasons, this file was exceptionally created manually and sent directly to the person concerned. The process can therefore be considered “Completed” without being allé until it is completed.
Delete
You can permanently delete a process instance that has the status “Done” or “Discontinued”.
This is useful when one no longer wants to have access to the instance in its history, such as the instances that were used to test the process.
To do so, click on a process “Finished” or “Interrupted” then in the “Information” tab you will have the possibility to “Delete the process permanently”.
Reassigning a user(s) to a current task
It is possible to modify the assignment of a current task to add or remove from the users responsible for its execution. The action is immediate, the users reassigned to this task then see directly the task to be performed from their interface. It is also possible to assign user groups as defined in the application. The current task is then newly assigned to these user groups.
Example: if a user is the only one assigned to a task and that user goes on leave, the controller can then choose to assign the task to another user to be able to move the process forward.
- Click on the row of the process you want to stop in the Tracking tab.
- Click on the Activity Details tab 2️⃣
- Click on the current selected task (coloured blue) in the process step summary table 3️⃣
- On the right-hand side of the screen 4️⃣, click on the button “Change assignment” in the Assignment group box. The following window opens
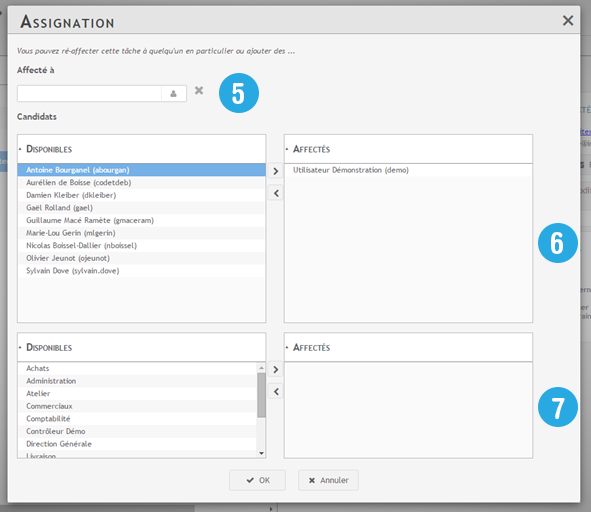
Then change the assignments:
- Drag and drop candidate users (left side of the table) to the right side to assign them 6️⃣. There can be several users affected at the same time, all will see the task in their interface, but only one will perform it.
- Drag and drop candidate groups to the right to assign them 7️⃣. Users belonging to the affected groups will see the task from their interface.
- Choose a user already assigned 5️⃣, that is, even if several users are assigned, only the assigned user will see the task. If this one abandons the task, all other affected users will see it from their interface.
Confirm by pressing “OK“”
Resend an email containing the URL address of an externally assigned task
A task assigned to an external person can be performed by accessing from a specific URL address. In case this person has not received the email, has lost the access link, or to remind him/her to complete the task, it is possible to send him/her the email containing the access link to this task.
- Click on the process line containing the externally assigned task.
- Click on the Activity Details tab 2️⃣
- Click on the current selected external task (coloured blue) in the process step summary table 3️⃣
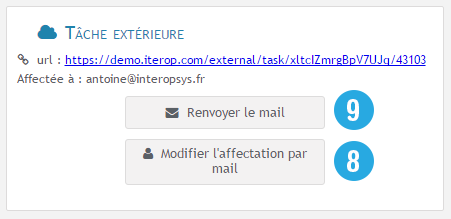
- On the right-hand side of the screen 4️⃣ check the e-mail address of the external person. You can change it if it is not good 8️⃣
- Click on Send mail 9️⃣
- Confirm the action from the confirmation window.
Force the completion of a task in progress in the place of a user
A process controller can perform any task in a running process, in place of an assigned user. This allows the user to continue a process in the event that a task is blocked.
Example: a task has been blocked for several days, which causes a process lock. The controller can either reassign this task to another user or, if he has the required skills, perform it himself to immediately unblock the process.
- Click on the process row containing the task to be performed from the Tracking tab.
- Click on the tab Details of activities 2️⃣
- Click on the current selected task (coloured blue) in the process step summary table 3️⃣
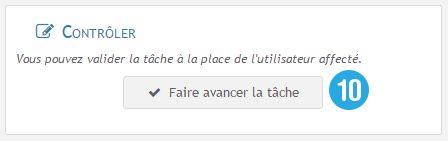
- On the right side of the screen 4️⃣ and in the Control frame, press “Advance Task”?
The data needed to complete the task are (if any) on the left side of the window.
- A task completion window opens. It must be filled in like the classic completion of a task (See Completing a task).
- Fill in the form data (if the task is requested) (12)
- Click on “Finalize task” to complete it (13)
Manually start a timer without waiting for the end date
Timers are triggered on a specific date, depending on the progress of the process. On the process flow diagram, they are represented as follows:
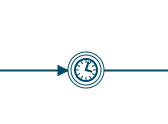
They can also be associated with a task and can have the effect of completing it when the timer’s trigger date is reached.
It is possible from the control interface to manually start a timer before it normally ends on the configured date.
Example: A timer is used to trigger a reminder to perform an important task. The reminder is triggered one week after the start of this task. The controller realizes that the completion of this task becomes urgent, and may decide to send an immediate reminder to speed up the completion of the task.
- Click on the row of the process for which you want to trigger a timer in the Tracking tab.
- Click on the tab Details of activities 2️⃣.
- Click on the current selected task (coloured blue) in the process step summary table 3️⃣.
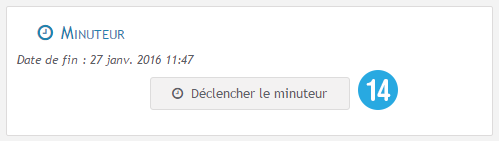
- On the right-hand side of the screen 4️⃣ and in the Timer frame, press “Start timer” (14) .
- Confirm in the confirmation window by pressing “OK“.
- You can check in the tab General Information the effect of triggering this timer in case the process is not completed.
Modify a data of the current process
It is possible to modify the data of a running process that has been entered by a user or by an automatic task. The data is preserved in the history and it is possible to retrieve and consult an old value entered by a user even if it has changed.
Example: A purchase order planned to start production with 4000 items. A customer modifies his order and wants 1000 more items. The controller can then change the number of materials before production starts, and enter 5000 materials in the system.
- Click on the process line to be modified in the Follow-up tab.
- Click on the tab General information 1️⃣.
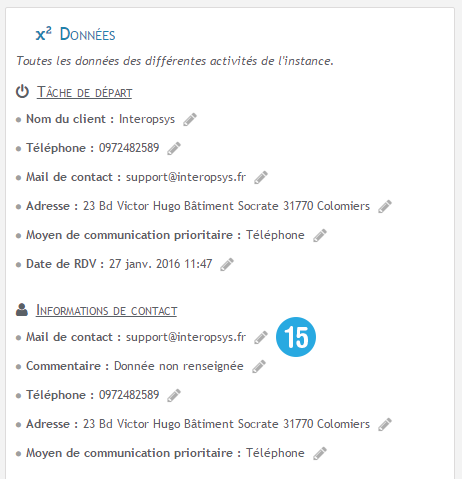
- In the Data box on the right, all the data of the current process are listed and grouped by task. Locate the data to be modified.
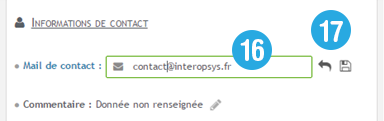
- Click on the pencil to be able to edit the data (15)
- Enter the desired new value in the form that has just appeared (16).
- Once the new value has been entered, save it by pressing the record diskette (it is also possible to cancel and return to the last value by pressing backspace ) (17).