
Many of Iterop’s features are accessible via an API REST for efficient integration with your tools. This interface is protected by an advanced security mechanism that prevents unwanted access.
To do this, we use a system of unique keys (equivalent to a username/password) that allows independent authentication of common users. The management of these identifiers is done through a dedicated interface.
Two security mechanisms are available:
- The sending of identifiers by HttpBasic (base64), implemented by almost all customers. This method is the simplest but is not suitable for heavy loads because the password verification is deliberately slow to increase security.
- The use of a JWT token. This token, with limited duration, can be generated using the identifiers with a POST request on /api/auth/jwtcode>. This method is more efficient (the password is checked only at the request of the token) but is unfortunately not always taken into account natively by the customers. It is then necessary to manage manually the generation of the token when the previous one is no longer valid.
Create a REST access
Here’s how to create a new access key/secret key pair:
- Go to the Administration tab.
- Go to insert REST access.
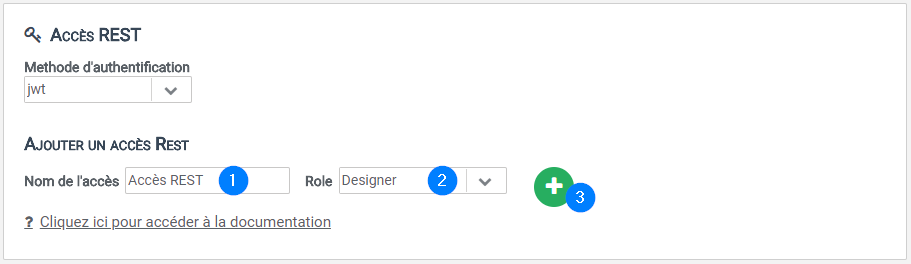
- Fill in the name of the new access as well as the type of right in the corresponding text fields then click on the button
- An access key as well as a secret key will be automatically generated.

Remember to note the identifiers 1️⃣ which will not be visible afterwards (only the access key will be accessible). At any time, you can delete this access 2️⃣ or regenerate the secret key 3️⃣ which will invalidate the previous one.
Using API methods with the Iterop interface
Documentation on how to use the REST API is available at any time through the “?” link. This documentation describes each externally accessible operation with a description of the expected and provided data.

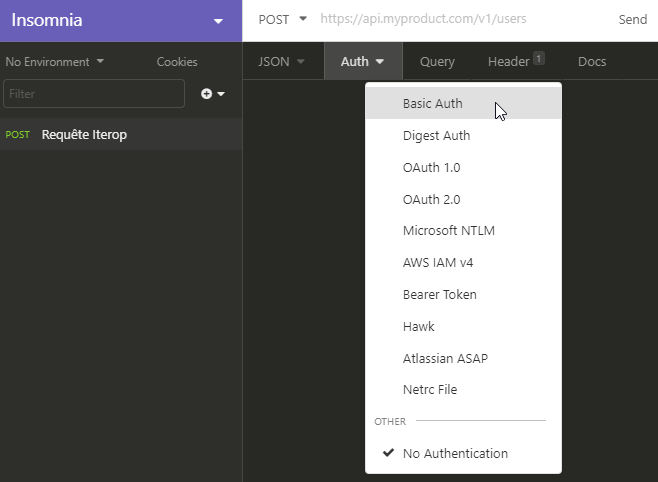
This interface allows you to test the different methods that can be used before any integration. To do this, simply click on authorization management . This opens the following window:
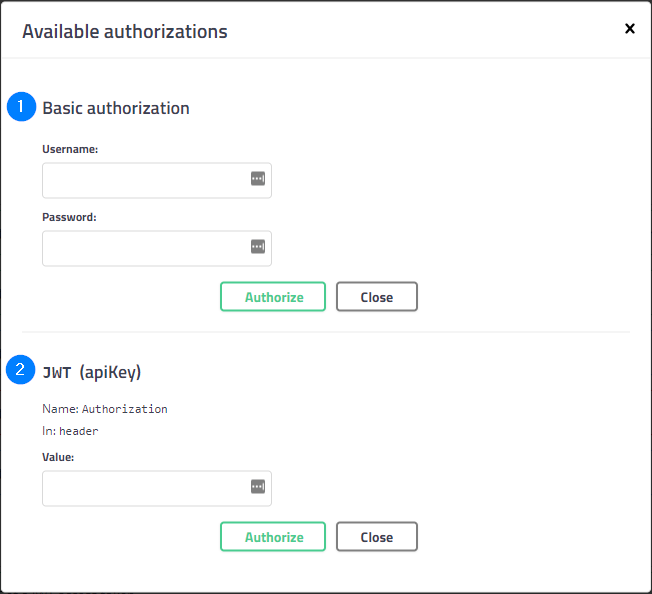
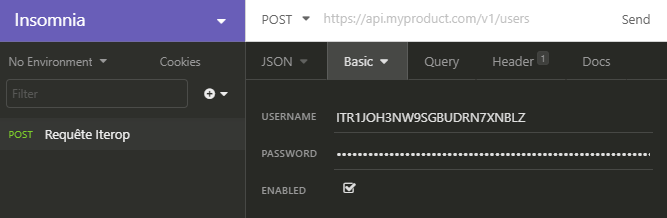
Depending on the choice of authentication method, the corresponding section must be completed. In the case of HttpBasic (1), the access key and the secret key must be entered respectively in the fields username and password. If you want to use JWT, you must first generate a token using the associated generation method (present in the same interface in the auth category) and insert in the previous interface “Bearer <<token>>“, where <<token>> is to be replaced by what you received from the previous call.
We also provide a full Java client on request to facilitate integration.
Using third-party software to use API methods
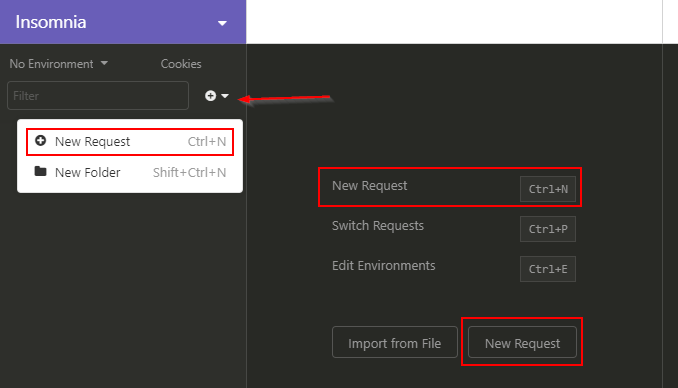
For this example, we will use the application “Insomnia” which is a REST client.
- Create a new query
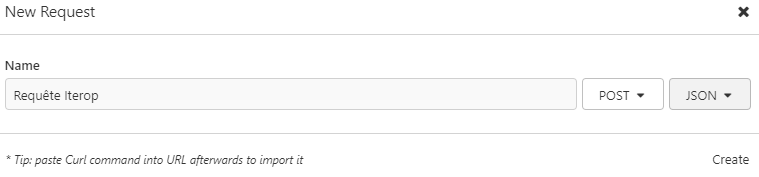
- Give a name to the query, indicate its type (POST for this example) and the type of Body (JSON)
- Choose an authentication method
- Fill in the “login – password” couple generated earlier.
- Fill in the url for the query based on “https://votre-instance.iterop.cloud/api/request.”

- Fill in the body of the query in the “JSON” tab (“Body” if the type is not filled in) and click on “Send”.
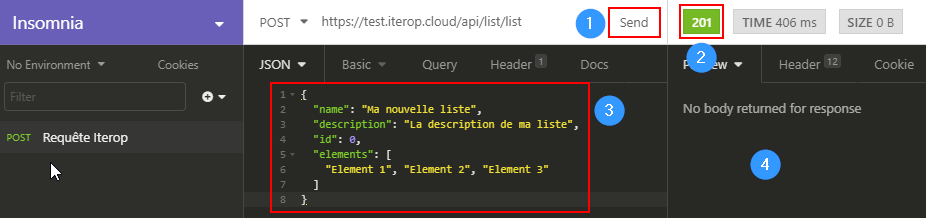
1: “Send” button
2 : Return code of the request (see the different codes and their meaning)
3: Body of the request
4: Possible response to the request (in particular for GET methods)

