The types of events that can be modified
For all border events on a task (timer and signal), the event can be triggered manually by the task actor if the designer gives him the possibility to do so.
The timer
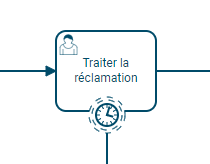
In this case, the timer can be started manually or postponed.
The signal
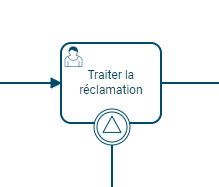
Both
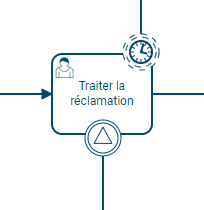
This is the signal that can be triggered here.
In this example, the timer and the signal can be configured independently, either one, both or neither.
Allowing to manually trigger a timer located on a human task
In the case of a border timer on a human task, you can let the actor decide to extend the deadline for the task, or to finish it prematurely.
In order to do so:
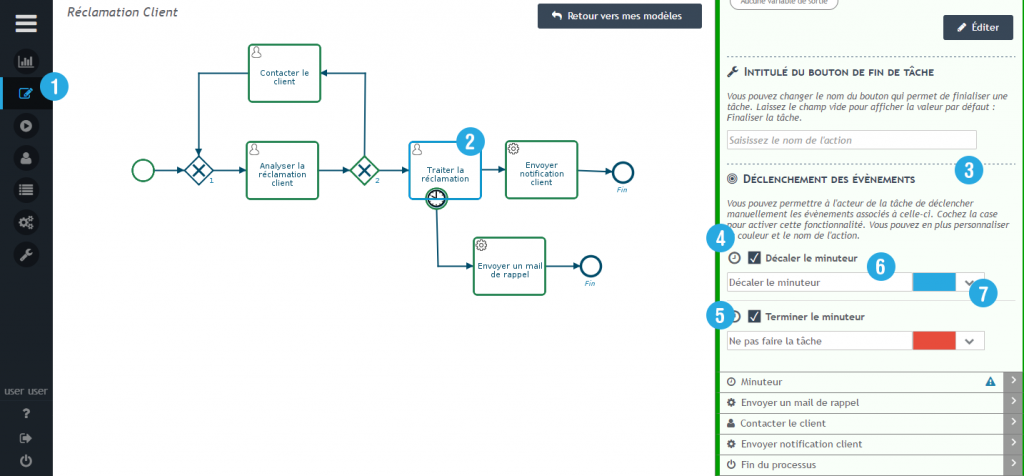
- In the Template tab 1️⃣, choose your template then click on configure
- Click on the task that has a timer on the border 2️⃣
- In the task configuration panel on the right, the 3️⃣ insert concerns the triggering of the events attached to this task
- In the case of a timer, two actions appear:
- 4️⃣ Shift the timer : the actor will then be able to choose a new date other than the one configured in IteropDesign.
- 5️⃣ Terminate Timer: the actor to decide to end the timer immediately
- To allow the user to perform these actions, check the box in front of each action:
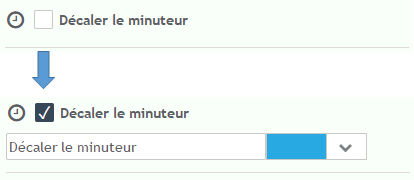
- Choose the label of the action visible to the user in the text field 6️⃣. This text will then be displayed in Play.
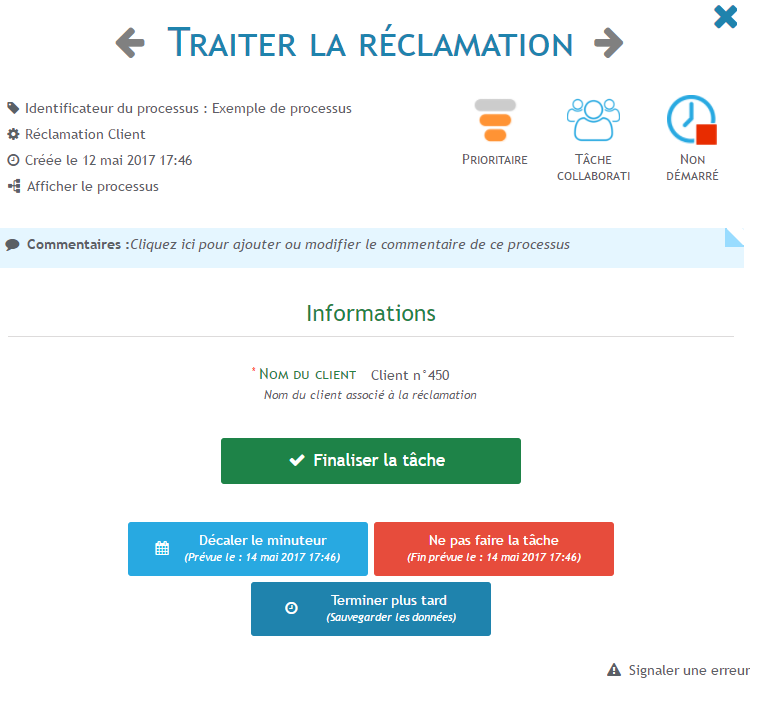
- Choose the color of the 7️⃣ button that will be displayed from the task completion interface in Play.
In this example, here is what the task actor will see from his interface :
Allowing to manually trigger a signal located on a human task
It is possible to activate the manual triggering of a signal located on a human task. To do this, add a signal from the modeler to a task like this:

To configure manual triggering, simply proceed exactly as in the previous chapter: Configure timer events.
Instead of the two possible actions “Shift Timer” and “End Timer”, only the event “Trigger Signal” is available:
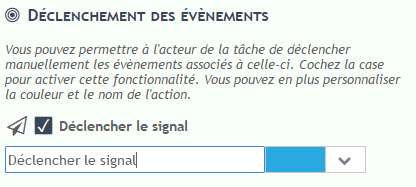
The configuration must be carried out as before.
Usage example: Shifting a weekly quality inspection
In this example, let’s take the case of a quality task that must be performed every week of the year on a production line. If this task is not completed on time, then this delay must be recorded to keep a record and can be analyzed later.
Course
Here is what the corresponding part of the process might look like:
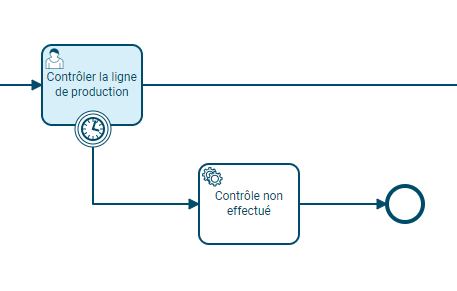
In our example, the timer would then be triggered one week after the start of the control step.
Now, if ever the production line is under maintenance or simply inactive, the control becomes obsolete over this period. Therefore, the system should not record “a check not carried out”.
In this case, it is possible from the model configuration, to activate the option “Offset the timer” for the corresponding task:
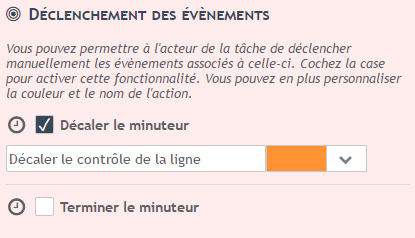
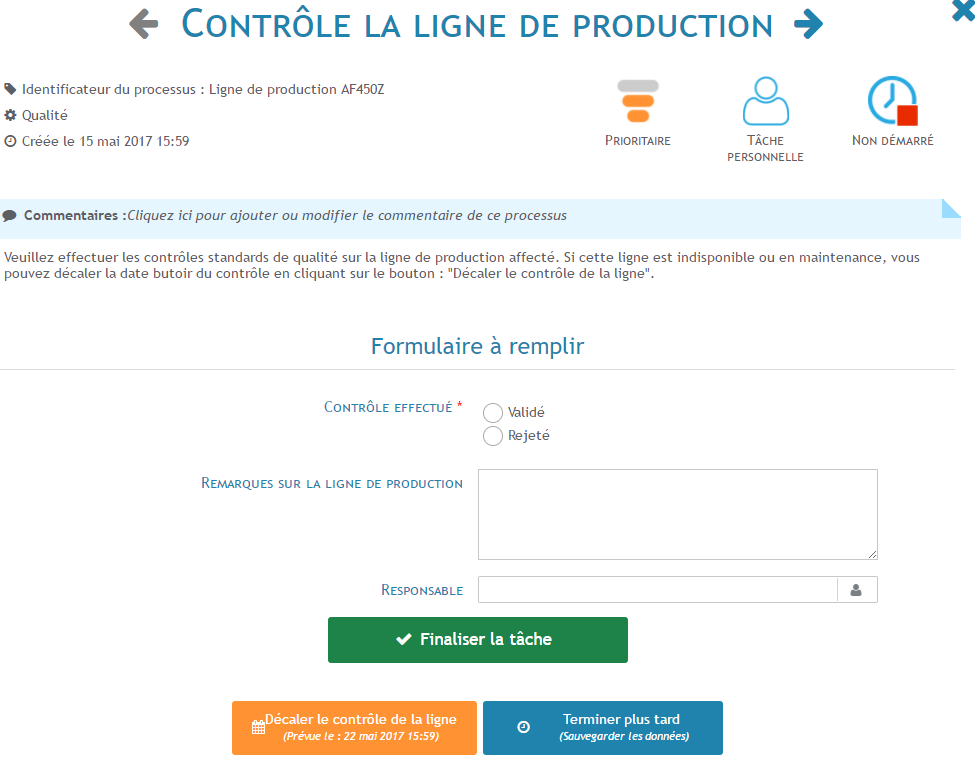
The person in charge of quality can then shift the quality control directly in his interface of realization:
