
Once you have selected a process in the current processes or in the completed processes from the table in the process tracking, a page with all the information about this process is displayed. It is then possible to navigate through the information from the tab bar at the top of the page:

- General information 1️⃣: Here you will find all the information related to the selected process. In particular, you will find :
- The launch information.
- The progress of the process.
- The status of the process tasks.
- A list of all the data from the process.
- Details 2️⃣: This tab allows to have more details and information about the different tasks of the process. It also allows you to change the assignment of a task or advance it manually.
See general process information
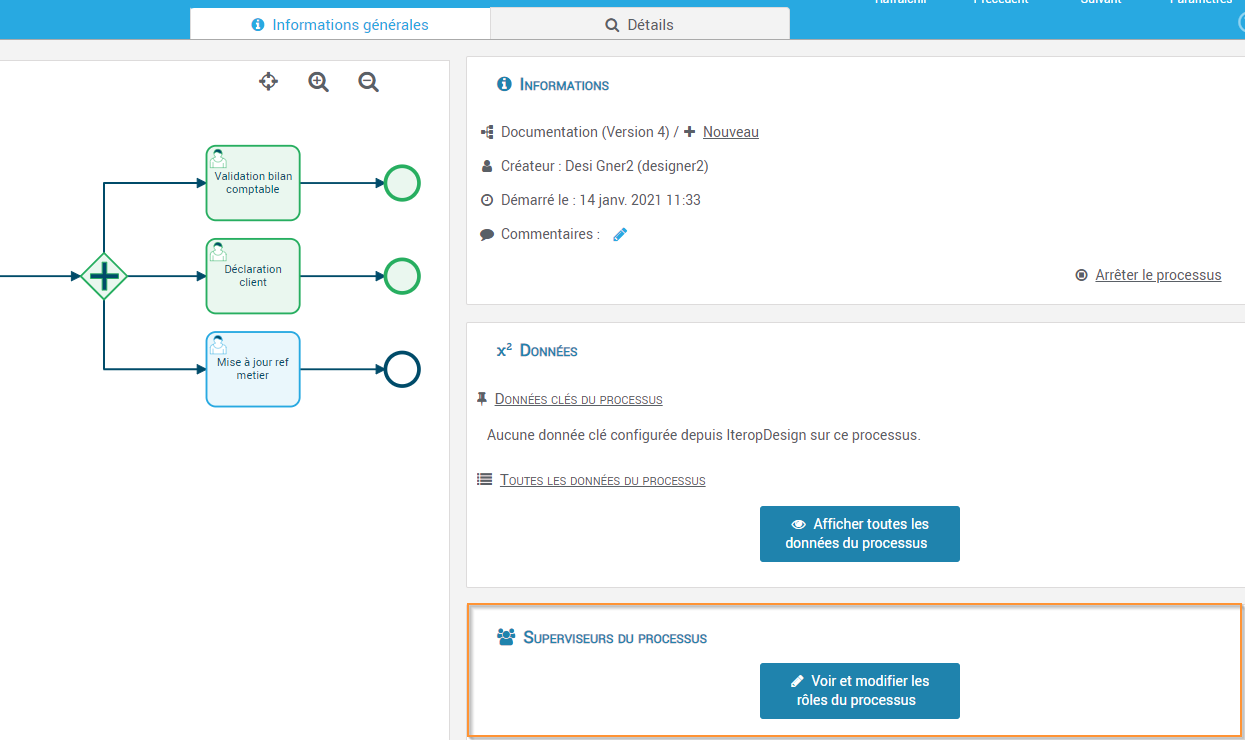
- Click on the “General Information” tab 1️⃣ to display all global information about the process.
- The general information of the process (identifier, start date, creator, …) is displayed in the “Information” frame 4️⃣ and the data of the process is displayed in the “Data” frame 5️⃣ (this is the data communicated by the users)
- The diagram 4️⃣ allows you to analyze the process monitoring and see which tasks have been performed

View process data
All data related to the process is available in the data section 5️⃣. The key data of the process are important data chosen by the designer when configuring the process. These are highlighted (blue frame) and are directly visible in the tab.
To view all data, click on Display all process data. If you are the controller of this process and it is not finished, edit buttons will appear in front of each of these data. You will find them at the bottom of the display settings (green box).
Analyze the process flow of a process using the flowchart
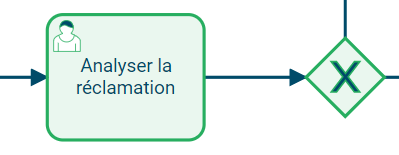
The diagram on the left side of the screen 4️⃣ shows you the overall process flow. The activities are colored according to their status:
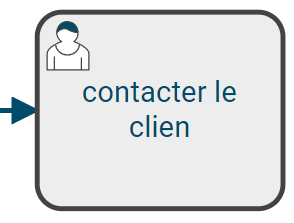
Waiting

The activity has been started but is on hold.
No user has assigned the task to himself.
Completed
Second pass (x2)
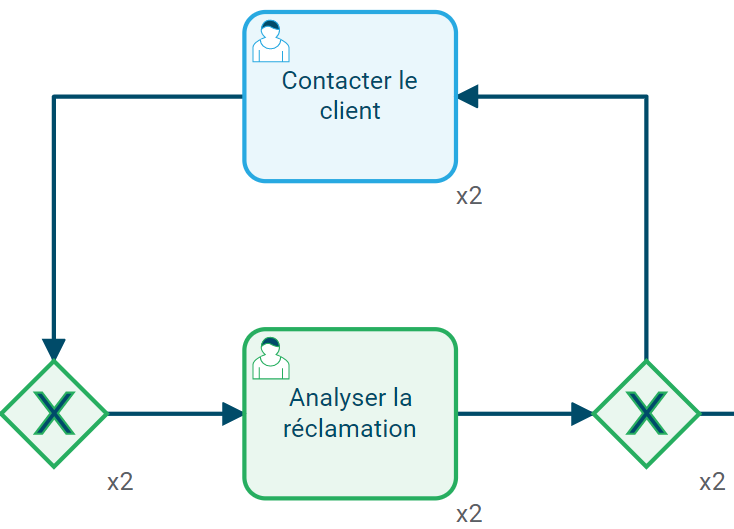
In processes containing loops, an activity can be performed several times. The number of passes is indicated after the “x” .
Not started
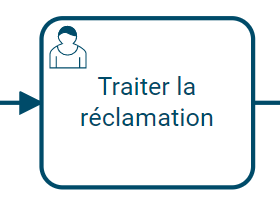
The activity has not yet started.
Interrupted
The activity has been discontinued. This state is possible if a timer has forced it to finish or if the task is located in a sub-process and that sub-process has finished before the completion of this activity.
In error
The activity is in error. Go to the Errors tab to resolve issues related to this activity.
View and modify process roles
To view or modify process roles, click on the button at the bottom right of the general information tab.
It is now possible for you to:
- Consult the different roles. 1️⃣
- Change dynamic roles. 2️⃣
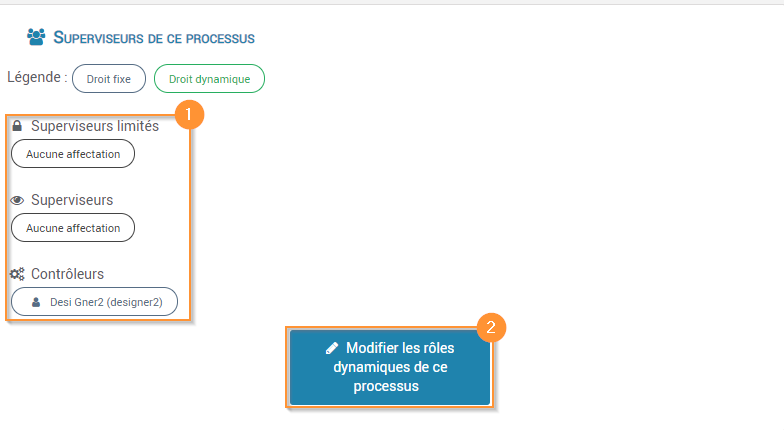
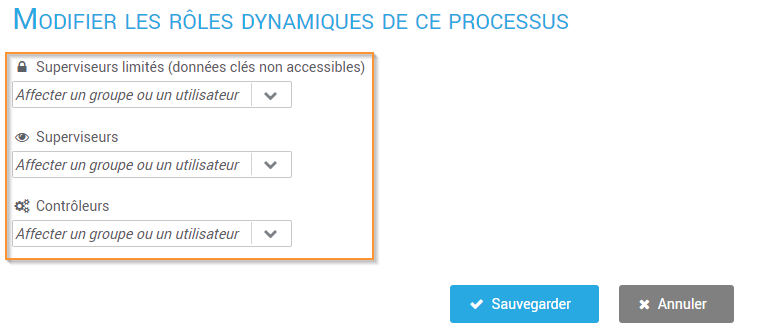
To modify the dynamic roles you just have to click on “Modify the dynamic roles of this process” and fill in the different fields.
See the detail of the activities of a process
It is possible to view information on all the activities that have been started in the process. The information displayed depends on the nature of the activity (human task, automatic task, mail sending…).
- Click on Details of activities 2️⃣
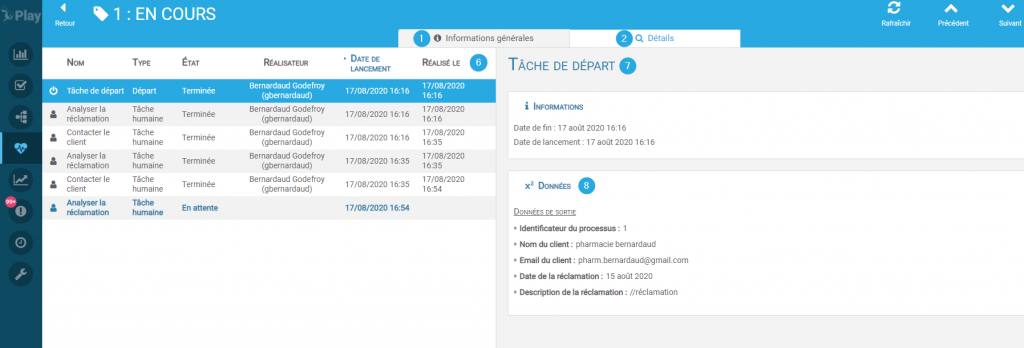
- The information for all activities appears on the screen (see screenshot above).
- Consult the main information of the activities in the table 6️⃣ (type of activity, status, director, date of completion)
- Select a completed activity from the table 7️⃣ (lines written in black) to access its details 8️⃣ and 9️⃣
- Select an uncompleted activity from the table 7️⃣ (lines written in blue) to have access to additional control options (if you are a controller of this process, see Controlling and Changing Processes in Progress)
Tracking parameters
You will find at the top right the tab parameters which allows each user to define his preferences for viewing a process instance. These parameters are not process-specific but are user-related. From this tab, it is possible to:
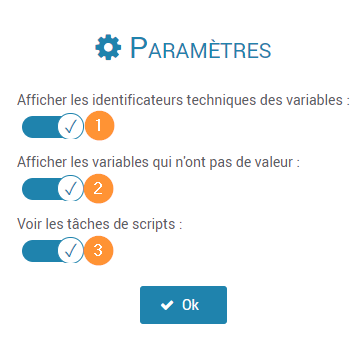
- Display or not the technical identifiers. 1️⃣
- Disabled: all variables in insert 5 are presented as follows: libelle: value
- Enabled: all variables in insert 5 are presented as follows: libelle (id): value
- Hide the empty variables. 2️⃣
- Off: All variables in box 5 that have no values will not appear.
- Enabled: all variables in box 5 that have no values are presented as follows: libelle: data not filled in
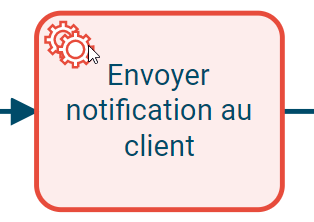
- Hide script tasks. 3️⃣
- Disabled: script tasks will be lightly greyed out in insert 3 and will be hidden from the details table.
- Enabled: Script tasks are displayed with the same opacity as other tasks and will appear in the details table.
When a new user is created on the instance, the 3 options are disabled to purify the page as much as possible.
When a new designer or administrator is created on the instance, the 3 options are activated to allow him to follow as much as possible the technical data of the processes he supervises.

